

Introduction — a simple field test
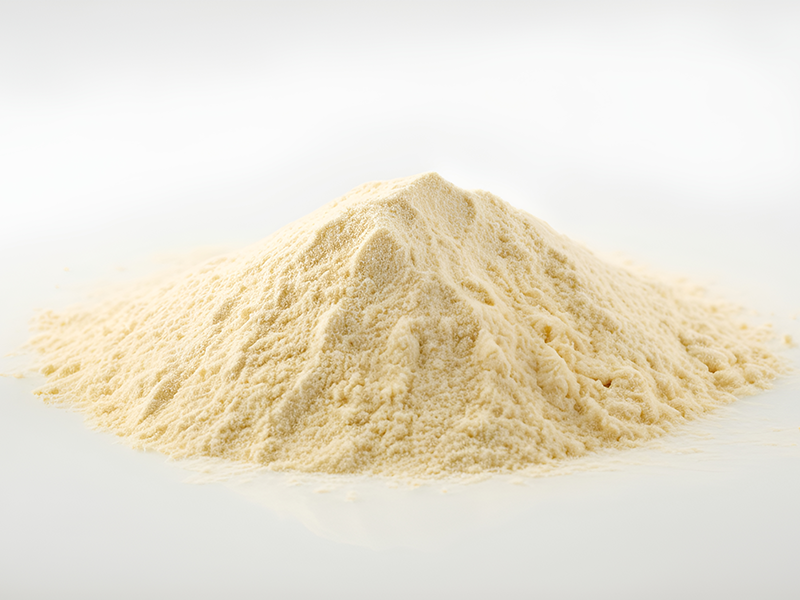
I was out on a farm once, squinting at a patch of soil and thinking about silica—funny how that works, right? That day I found a sack of filler and a kettle of coffee. JSJ Silica came up in the second sentence of my notes because I’d been testing their product on a small trial line. The batch numbers said one thing; the meters said another. I logged moisture: 0.5% versus 1.2% in another sample. I logged bulk density too. (Old-timers would call that reading the land.)
So here’s the setup: a small mill, three mixes, and a few simple instruments. I wanted to know which filler held up. Which one dusted out, which one compacted, and which one stayed steady. My question boiled down to one practical point—what test tells me the real world result? That’s what I’ll walk through next, step by step.
Part 1 — Why common tests fail for hydrated silica
Why do standard tests miss the mark?
We run standard lab tests all the time. They tell you surface area, particle size distribution, and porosity. But they often miss how the material behaves on the plant floor. Lab numbers look tidy. Real life is messy. Look, it’s simpler than you think: a sample may show low abrasion resistance in a controlled cup but will still grind into dust under a fast conveyor. I’ve seen that. We tracked fines during transfer and the outer layers disintegrated within hours.
Two big problems keep coming up. First, the test conditions are too neat—drying ovens, static sieves, calm air. The production line adds heat, vibration, and moisture swings. Second, the metrics we chase (like BET surface area alone) don’t map to handling or rheology. You can have excellent surface area and horrible flow. I prefer to combine particle size distribution data with real handling trials—simple flow funnel checks, short-term compaction tests, and an eye for dust. These reveal failure modes sooner. We also note bulk density changes over time during storage; that tells a story regular tests miss. In short: lab-only evaluation paints part of the picture. You need plant-side checks too.

Part 2 — Looking ahead: practical changes and what to test next
What’s Next — practical metrics to watch
Moving forward, I favor three concrete shifts. One: add dynamic flow and transfer tests to your protocol. Two: stress samples with brief vibration cycles and humidity swings. Three: measure abrasion resistance after conditioning. These are small changes but they catch the common failure paths.
On the technology side, simple sensors and short automated runs help. I’d pair particle size distribution and surface area data with a quick rheology sweep. Run the mix in a short pilot line. See how it reacts to chutes, screw feeders, and hoppers. Measure dust emissions during transfer. Then compare those numbers across suppliers. This gives a comparative view that actually matches production risk. We did this once on a trial; results shifted supplier ranking by half a grade. — I still remember the first readout.
Finally, don’t ignore storage. Porosity and bulk density change under load. A silo test over weeks can reveal caking or bridging. That matters to uptime and waste. If you start with these practical checks, you’ll cut surprise downtime and save real money. I’m convinced—and I’ve seen the invoices to prove it.
Closing — three metrics I trust (and why)
Let me leave you with three clear metrics I use when choosing a hydrated silica product. First, dynamic flowability: measured on the line, not just in the lab. Second, conditioned abrasion resistance: after humidity and vibration. Third, short-term bulk density stability: how it settles over days. Each one links directly to a cost you can measure—downtime, dust loss, or rework. Measure them, compare suppliers, and you’ll find a true leader for your process.
I’ll say it plainly: data helps, but judgment closes the gap. We need both. When I pick a partner, I look for lab competence and real-world proof. That’s where JSJ fits in for teams who want clarity and fewer surprises.