

Opening: Begin with what matters to you
Please consider your daily priorities first: reliable lighting, refrigeration for medicines or food, and communications are often nonnegotiable for remote households. A focused approach starts by selecting an off-grid solar system that matches those priorities rather than overspecifying for unlikely loads. This guide places your needs at the center and offers concrete steps you may follow to turn a concept into a dependable system.
Step 1 — Determine usable energy demand
Calculate realistic energy use for a typical day. Break devices into essential, desirable, and occasional. A simple checklist helps:
- List essential devices and their power draw (Watts) and daily hours of use.
- Multiply each device’s Watts by hours to get Wh (watt-hours); sum for daily Wh.
- Add a 20–30% buffer for system losses and unexpected use.
Example: three LED lights (9 W each, 5 hours) = 135 Wh; small fridge = 1200 Wh/day; phone charging = 20 Wh. Total needs drive panel and battery sizing.
Step 2 — Size panels and battery capacity clearly
Panels must produce the daily Wh after accounting for local sun hours and system losses. Use this approach:
- Daily energy need (Wh) ÷ average peak sun hours = panel wattage required (W).
- Battery capacity (Wh) = required autonomy days × daily Wh ÷ depth-of-discharge (use 50–80% depending on battery type).
If your site receives 4 peak sun hours, a 1,000 Wh/day need requires about 250 W of panels before losses. For two days autonomy and 50% usable battery, you would provision 4,000 Wh of battery capacity. This arithmetic keeps decisions traceable and defendable.
Step 3 — Match inverter and controller to the load
Select an inverter with a continuous rating above your peak simultaneous load and a surge rating for motor starts (fridges, pump motors). Choose a charge controller sized for the panel current; MPPT controllers are more efficient, especially with higher voltage arrays. Confirm voltage compatibility across panels, controller, battery, and inverter to avoid mismatch failures.
Step 4 — Site, mounting, and environmental considerations
Assess roof tilt, shading, and wind exposure. Panels should face the equator and be angled close to local latitude for year-round balance. Consider corrosion-resistant mounting for coastal or dusty settings and allow space for future expansion. For remote sites, prioritize robust connections and accessible fusing to reduce field visits.
Common pitfalls and how to avoid them
A user-centered build avoids these predictable errors:
- Underestimating energy use: monitor actual consumption for one week before final sizing.
- Neglecting battery temperature: install batteries in a temperate, ventilated location or expect reduced life.
- Ignoring surge loads: quantify motor start currents and choose inverters accordingly.
- Poor cable sizing: voltage drop can halve system performance—use correct wire gauges for distance.
Addressing these issues early saves lifetime cost and maintains service.
Prebuilt vs. custom: a brief, practical comparison
If you prefer simplified procurement, a certified solar off-grid kit bundles panels, charge controller, inverter, and batteries to reduce compatibility risk. Custom systems offer better optimization for irregular loads and constrained sites. Choose kits for straightforward household needs and custom designs when you need scalability or have complex appliances.
Maintenance, monitoring, and expected lifespan
Schedule these recurring checks:
- Visual inspection of mounts, frames, and panels every six months.
- Terminal cleaning and tightness checks yearly.
- Battery state checks and electrolyte levels where applicable, quarterly.
Panel warranties typically span 10–25 years; battery life varies by chemistry and depth-of-discharge. A well-maintained system usually meets expectations for most residential off-grid uses.
Real-world perspective and deployment note
Installations in remote villages across sub-Saharan Africa have shown that matching system design to daily routines—rather than simply increasing capacity—yields higher user satisfaction and lower maintenance overhead. Local installers and operators favor straightforward, repairable configurations for long-term reliability.
Final synthesis
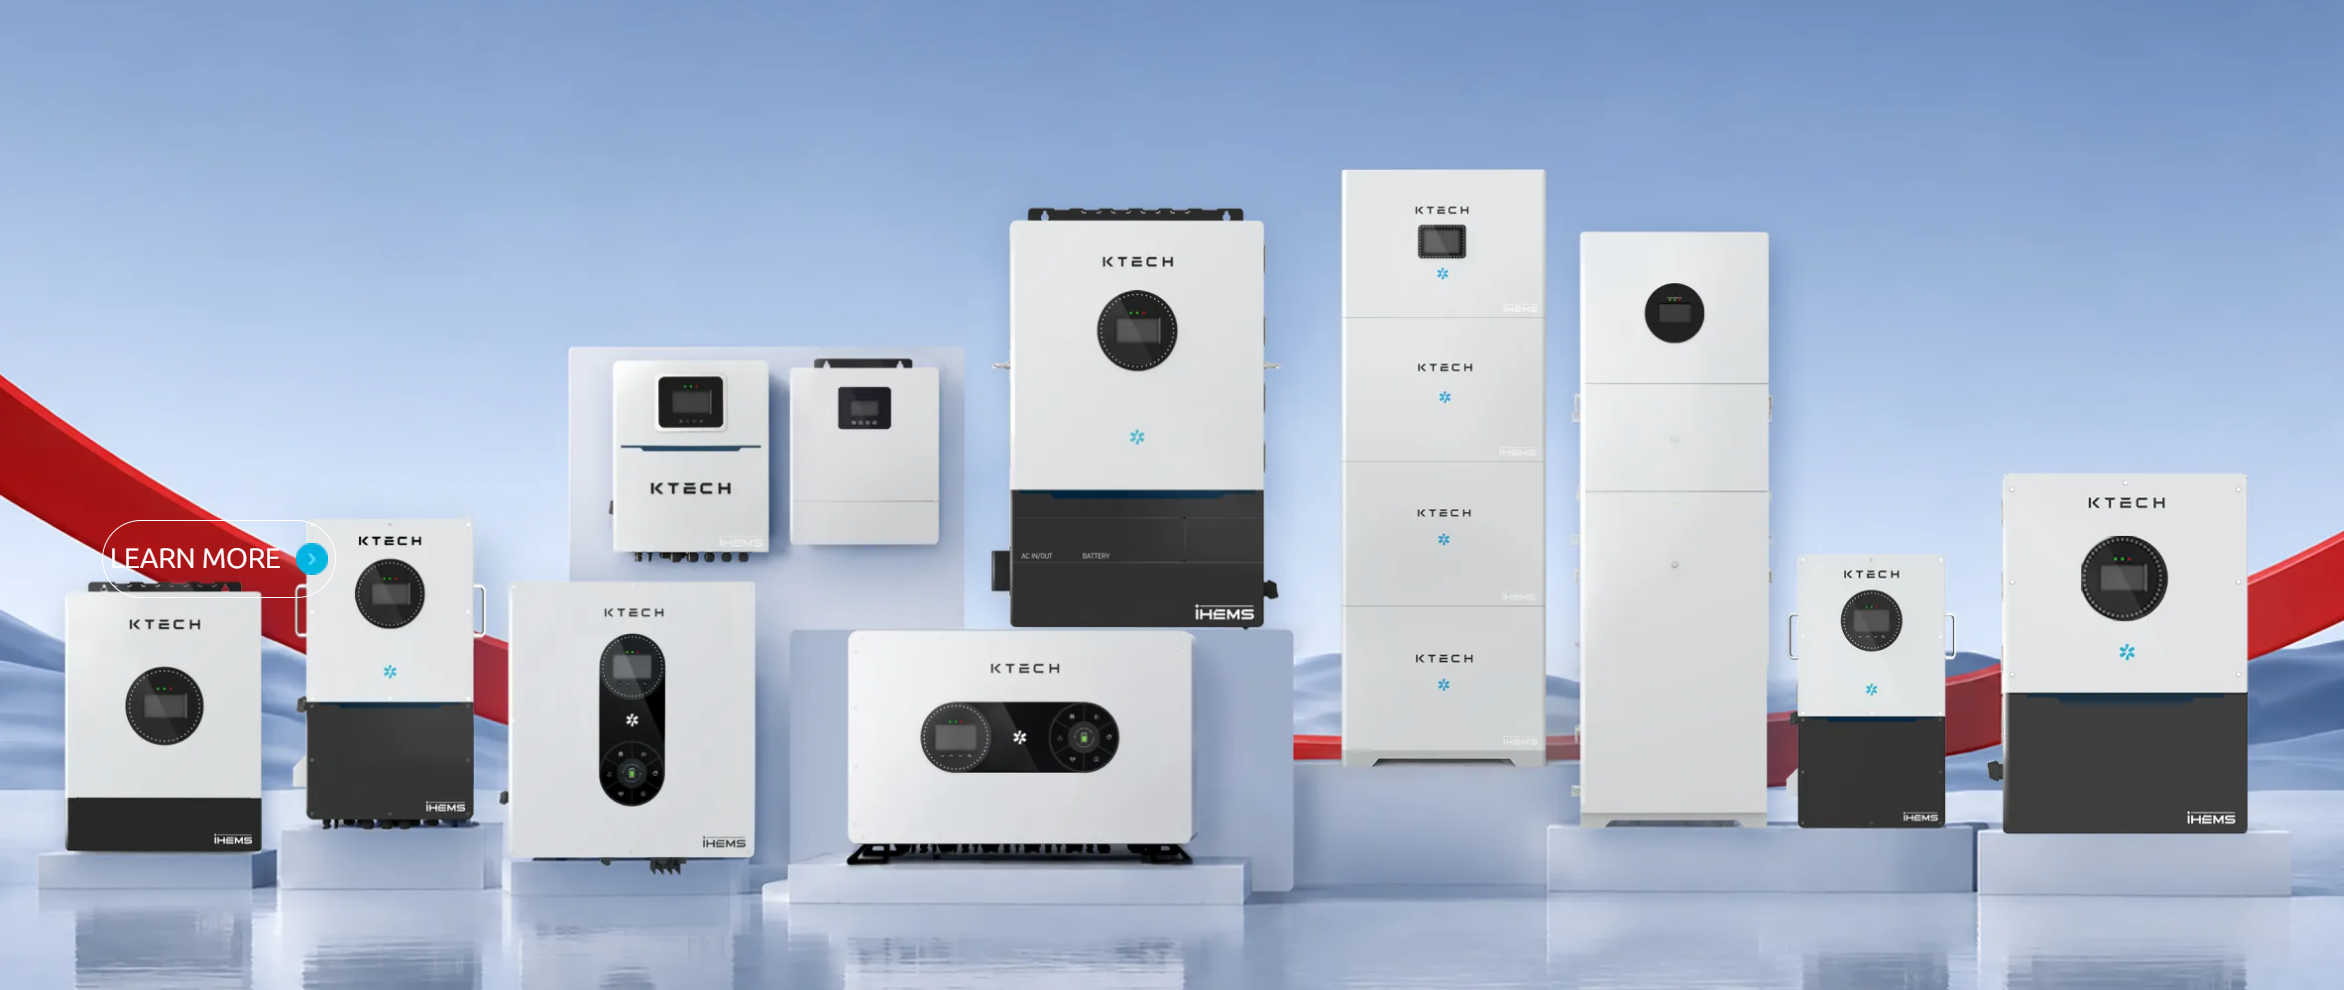
Your best outcome will come from clear measurement of needs, conservative sizing, and selecting components that are serviceable where you live. A user-centered path reduces surprises and concentrates resources on what sustains daily life. Many teams have found that pairing practical design with reputable suppliers produces a resilient household solution—this is the approach we trust and recommend from partners such as Ktech.
