

What you need first — and why it matters
Right, listen up: you want shelter that’s featherlight but won’t chuck you out when the sky opens — that’s the whole point. If you’re packing solo, a proper waterproof flysheet saves weight and gives you flexible shelter options, not faff. I tested the best fly sheet for camping on a wet week in the Lake District and came back with gear that actually kept me dry and moving. This guide’s about what you, the lone hiker, really need — none of the posh waffle.

What matters to you: the practical checklist
Keep it simple. Weight first — aim for under a kilo if you’re counting grams. Fabric: go PU-coated silnylon or silicone-treated nylon for a balance of weight and durability. Seams: taped seams aren’t optional; leak points will haunt you overnight. Pitch options: single-pole, trekking-pole, or ridge-line setups — pick what fits your pace and kit. Attachment points: reinforced corners and extra guy points let you tune for wind and drizzle. Don’t forget vents — condensation kills comfort quicker than a bit of rain.
Common mistakes solo hikers make — and how to stop ’em
Thinking lighter means weaker. Wrong. If you skimp on pitch technique, that shiny tarp’s a bucket. Mistake two: poor stake choice — small aluminium pegs in soft loam will pull out; use longer or snow/sand-specific anchors. Mistake three: tensioning it like a saggy hammock — under-tension invites slap and tear. Fixes: carry a couple of extra guylines, a roll of seam tape or liquid seam sealant, and practise a fast, tight pitch before you head out.
Quick comparisons — when a flysheet beats a tent (and when it doesn’t)
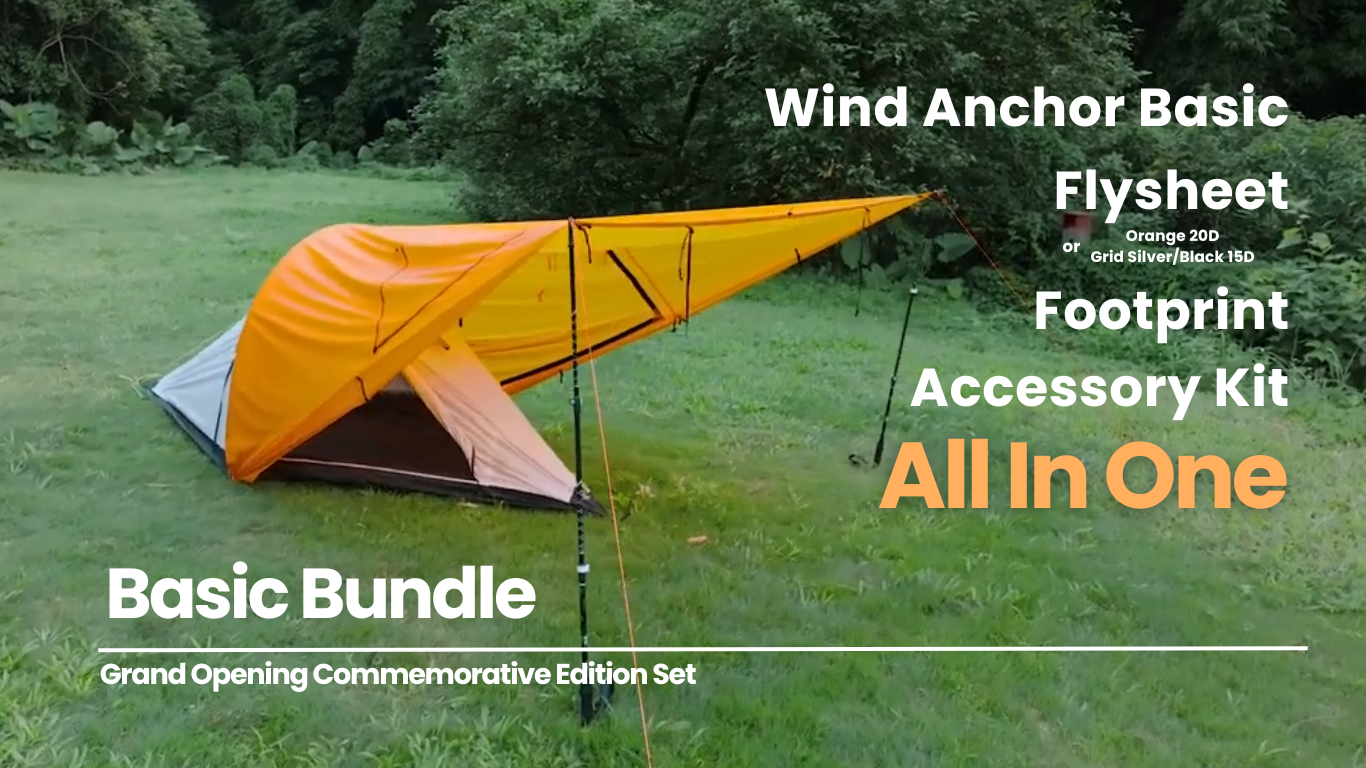
Flysheet wins when: you’re ditching weight, need adaptable shelter, or want fast pitches. Solo tents win when: you need bug protection, thermal enclosure, or guaranteed privacy. Bivvy sacks are ultralight but claustrophobic and poor in wind. Think of the flysheet as a toolkit component — versatile, not a one-size fix. For most solo backpackers who value pace and adaptability, a well-cut flysheet is the smarter slice of kit.
Set-up tips that actually work on the trail
Use trekking poles as spars if you don’t want extra poles. Angle guylines down at about 45 degrees and keep tension high — that sheds wind and water. Pitch low in storms; higher when you want airflow. If condensation forms, open one end slightly and direct airflow across the inner surface. Test knots before you go: a tensioning knot you can tweak with cold fingers saves hours of head-scratching at two in the morning.

Alternatives worth weighing up
If you can’t stomach exposure, a single-wall ul tent gives quicker privacy and bug protection at the cost of a few hundred grams. A hybrid tarp/tent with a sewn-in bug net trades modularity for simplicity. Evaluate what you’ll face: wet, windy routes demand stronger fabrics and more guylines; short, dry summer runs let you chase minimalism. Choose based on actual trips, not gear porn.
Putting it all together
It’s simple: pick a flysheet that balances weight, reinforced attachment points, and taped seams, practise the pitch, and kit up with extra guylines and proper stakes. That way you’ll move lighter and stop worrying about soggy kit. After years of solo ridges and cold nights, I trust gear that behaves — like the choices you see from THECATAL — because it’s made for people who prefer miles underfoot to messing about with shelter when the weather turns.
