

Why a framework helps more than inspiration
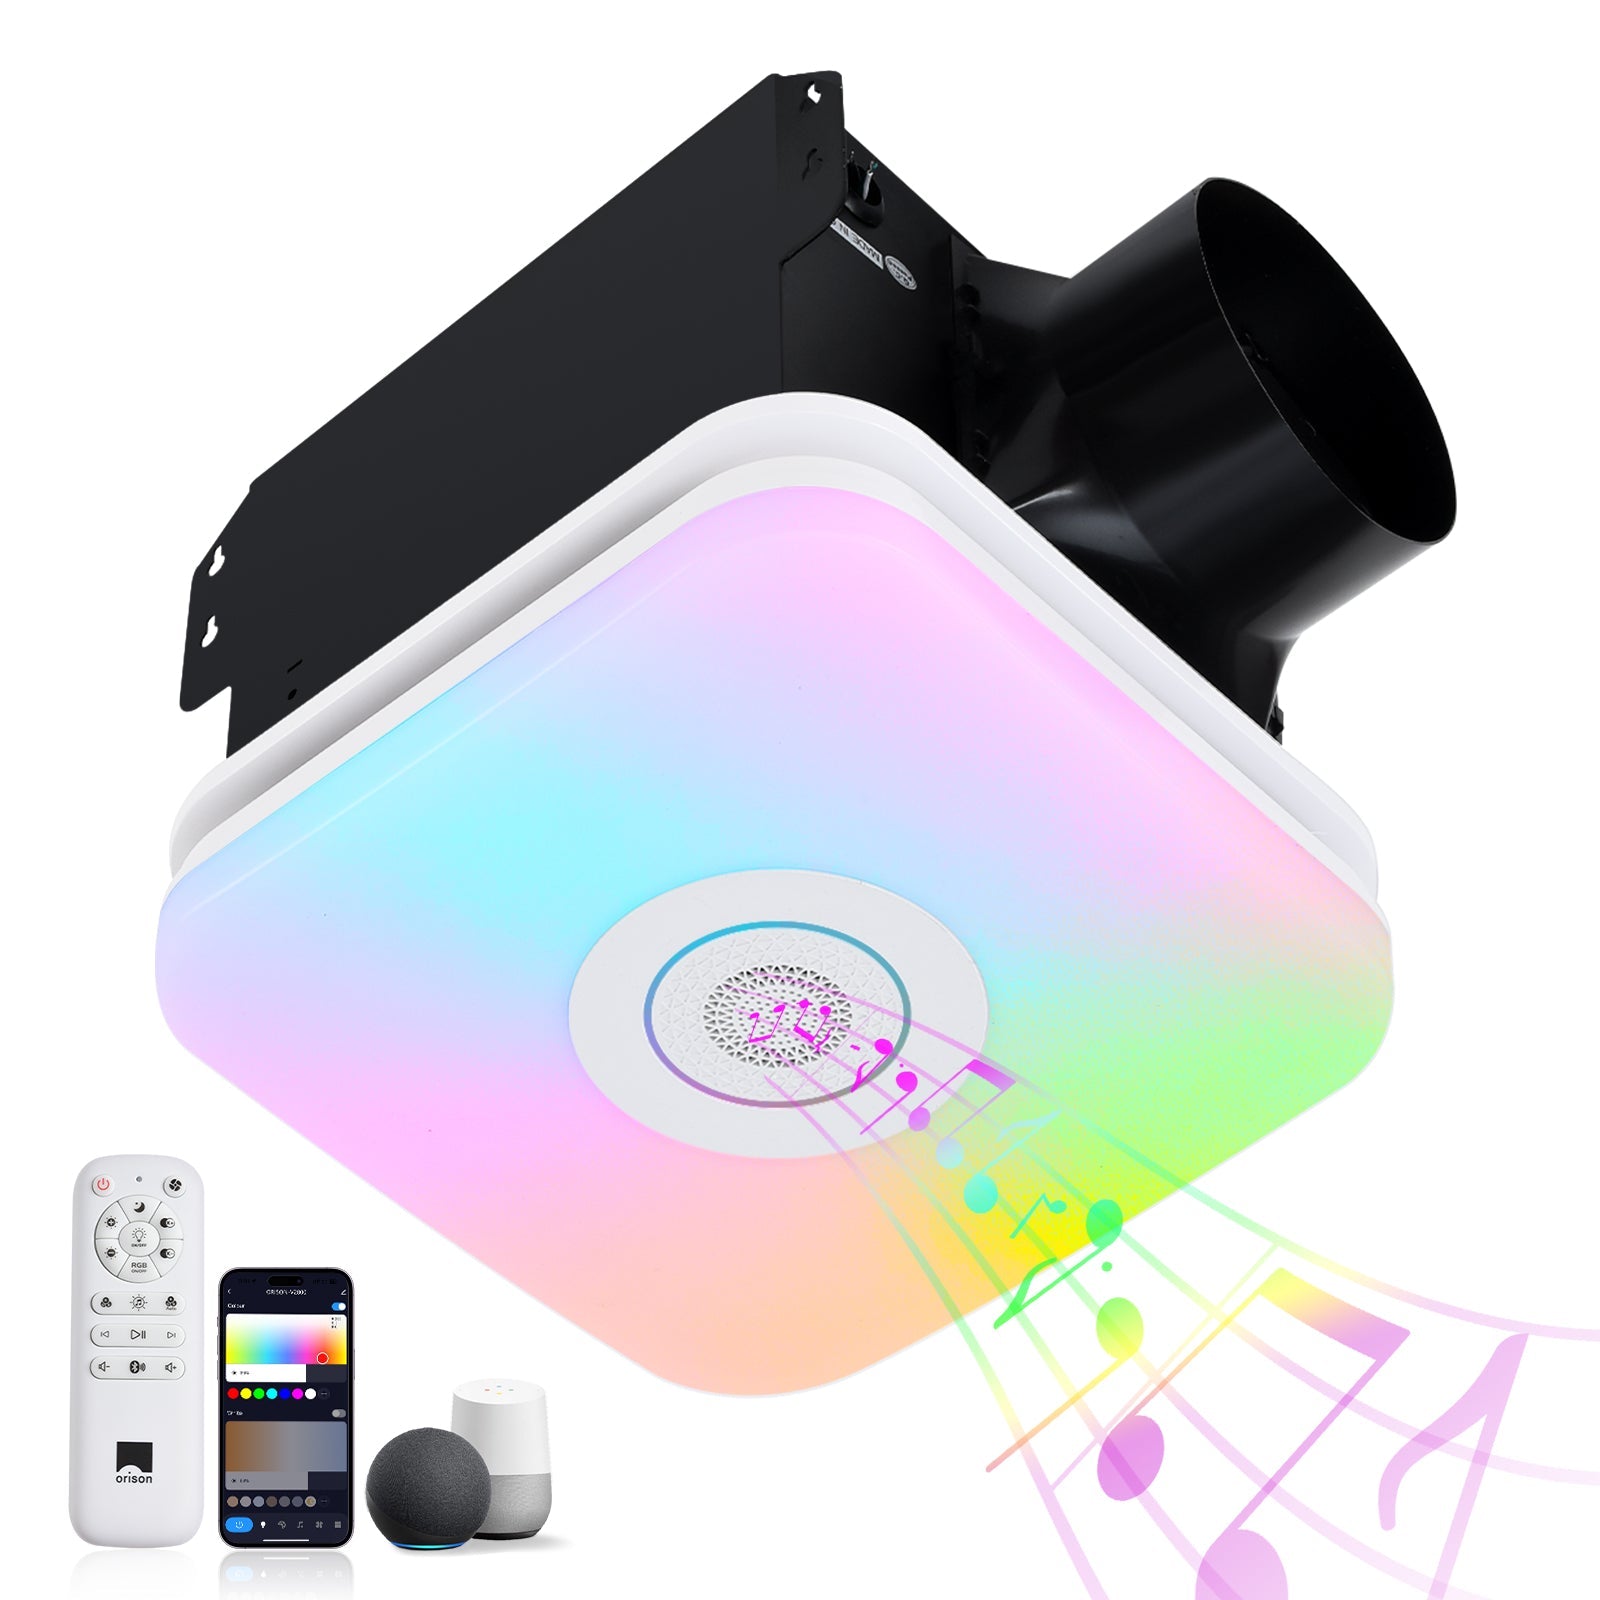
When you’re thinking about adding a ceiling rotating fan to a patio or gazebo, it’s easy to get dazzled by blade styles and LED hubs — but the wrong choice shows up later as rust, wobble, or an underwhelming breeze. A clear framework turns aesthetic impulse into a dependable outdoor solution: site assessment, weatherproofing spec, mechanical fit, electrical setup, and ongoing care. For context, the same attention to ventilation we give indoor systems — say, choosing the right bathroom exhaust fan for moisture control — applies outdoors too, albeit with different priorities like salt air and gust loads.
Step 1 — Assess the site and microclimate
Start by mapping the space: ceiling height, roof overhang, exposure to prevailing winds, and proximity to the coast. Coastal patios in Florida or the Gulf Coast, for example, need corrosion-resistant finishes because salt-laden air accelerates metal degradation — that’s a real-world anchor most outdoor installers don’t ignore. Note whether the fan will be fully sheltered or semi-exposed; IP rating expectations change accordingly. Recording these variables early saves costly rework.
Step 2 — Specify the right mechanical and electrical profile
Match fan CFM to area and ceiling height (higher ceilings usually need a higher CFM or multiple fans). Decide on motor type — BLDC motors run cooler and use less electricity, while traditional shaded-pole motors are cheaper but less efficient. Check the fan’s IP rating for water ingress and confirm the motor housing is sealed for outdoor duty. Also plan for mounting: a structural anchor into rafters versus a hanging kit for gazebo beams affects vibration and longevity. If you’re cross-checking ventilation experts’ advice, you’ll notice the same terms crop up: CFM, IP rating, and motor housing — they’re the industry shorthand for performance and durability.
Step 3 — Coordinate with electrical and mounting considerations
Outdoor fans often need dedicated circuits and weatherproof junction boxes. If you’re retrofitting, inspect the existing wiring and ground-fault protection; improper grounding is a common cause of motor failure and safety hazards. Consider a fan with integrated speed control or a remotely mounted controller to keep switches protected from the elements. And if you’re near salt air, specify stainless steel fasteners and sealed connections — little details that quietly extend service life.
Step 4 — Integrate with structure and aesthetics
Choosing a fan is about mechanics and mood. Blade sweep, reverse function for winter air circulation, and finish (powder-coated aluminum vs. marine-grade bronze) should all be checked against the site assessment. For gazebos with open slats, balance blade diameter with a higher RPM to maintain airflow without feeling gusty. This is also the stage to align neck finish tolerances if you’re adding lighting or a fan-integrated fixture — yes, compatibility matters even outdoors.
Step 5 — Maintenance plan and lifecycle costs
No one enjoys upkeep — until corrosion or imbalance forces a costly motor swap. Create a simple quarterly checklist: clean blades, inspect mounting bolts, test reverse and speed settings, and touch up exposed metal with corrosion inhibitor. For warranties, note whether the motor is replaceable and whether the supplier documents service parts availability. A realistic total-cost view includes expected maintenance and likely part swaps over a 10-year life.
Common mistakes installers make — and quick fixes
Avoid these frequent stumbles:
- Underspecifying IP rating: If a fan is semi-exposed, don’t pick an indoor-rated unit — expect premature failure.
- Ignoring blade balance: Even a small imbalance causes noisy operation and shortens bearings — balance blades during install.
- Overlooking electrical protection: No GFCI or incorrect circuit sizing invites trouble — consult an electrician early.
- Forgetting airflow patterns: One big fan isn’t always better than two strategically placed units — think circulation, not just power.
And remember — testing with your actual furniture layout matters. A fan that feels perfect in the middle of the yard can feel weak behind a sectional.
Installation checklist
Use this quick run-through before signing off:
- Confirm CFM and blade sweep vs. area.
- Validate IP rating and marine-grade finishes for coastal installs.
- Verify BLDC vs. AC motor choice and efficiency expectations.
- Ensure mounting anchors into structural members and torque specs met.
- Set up GFCI protection and sealed junction boxes.
- Document a quarterly maintenance routine and spare-parts availability.
Comparing fan types and a quick nod to extraction
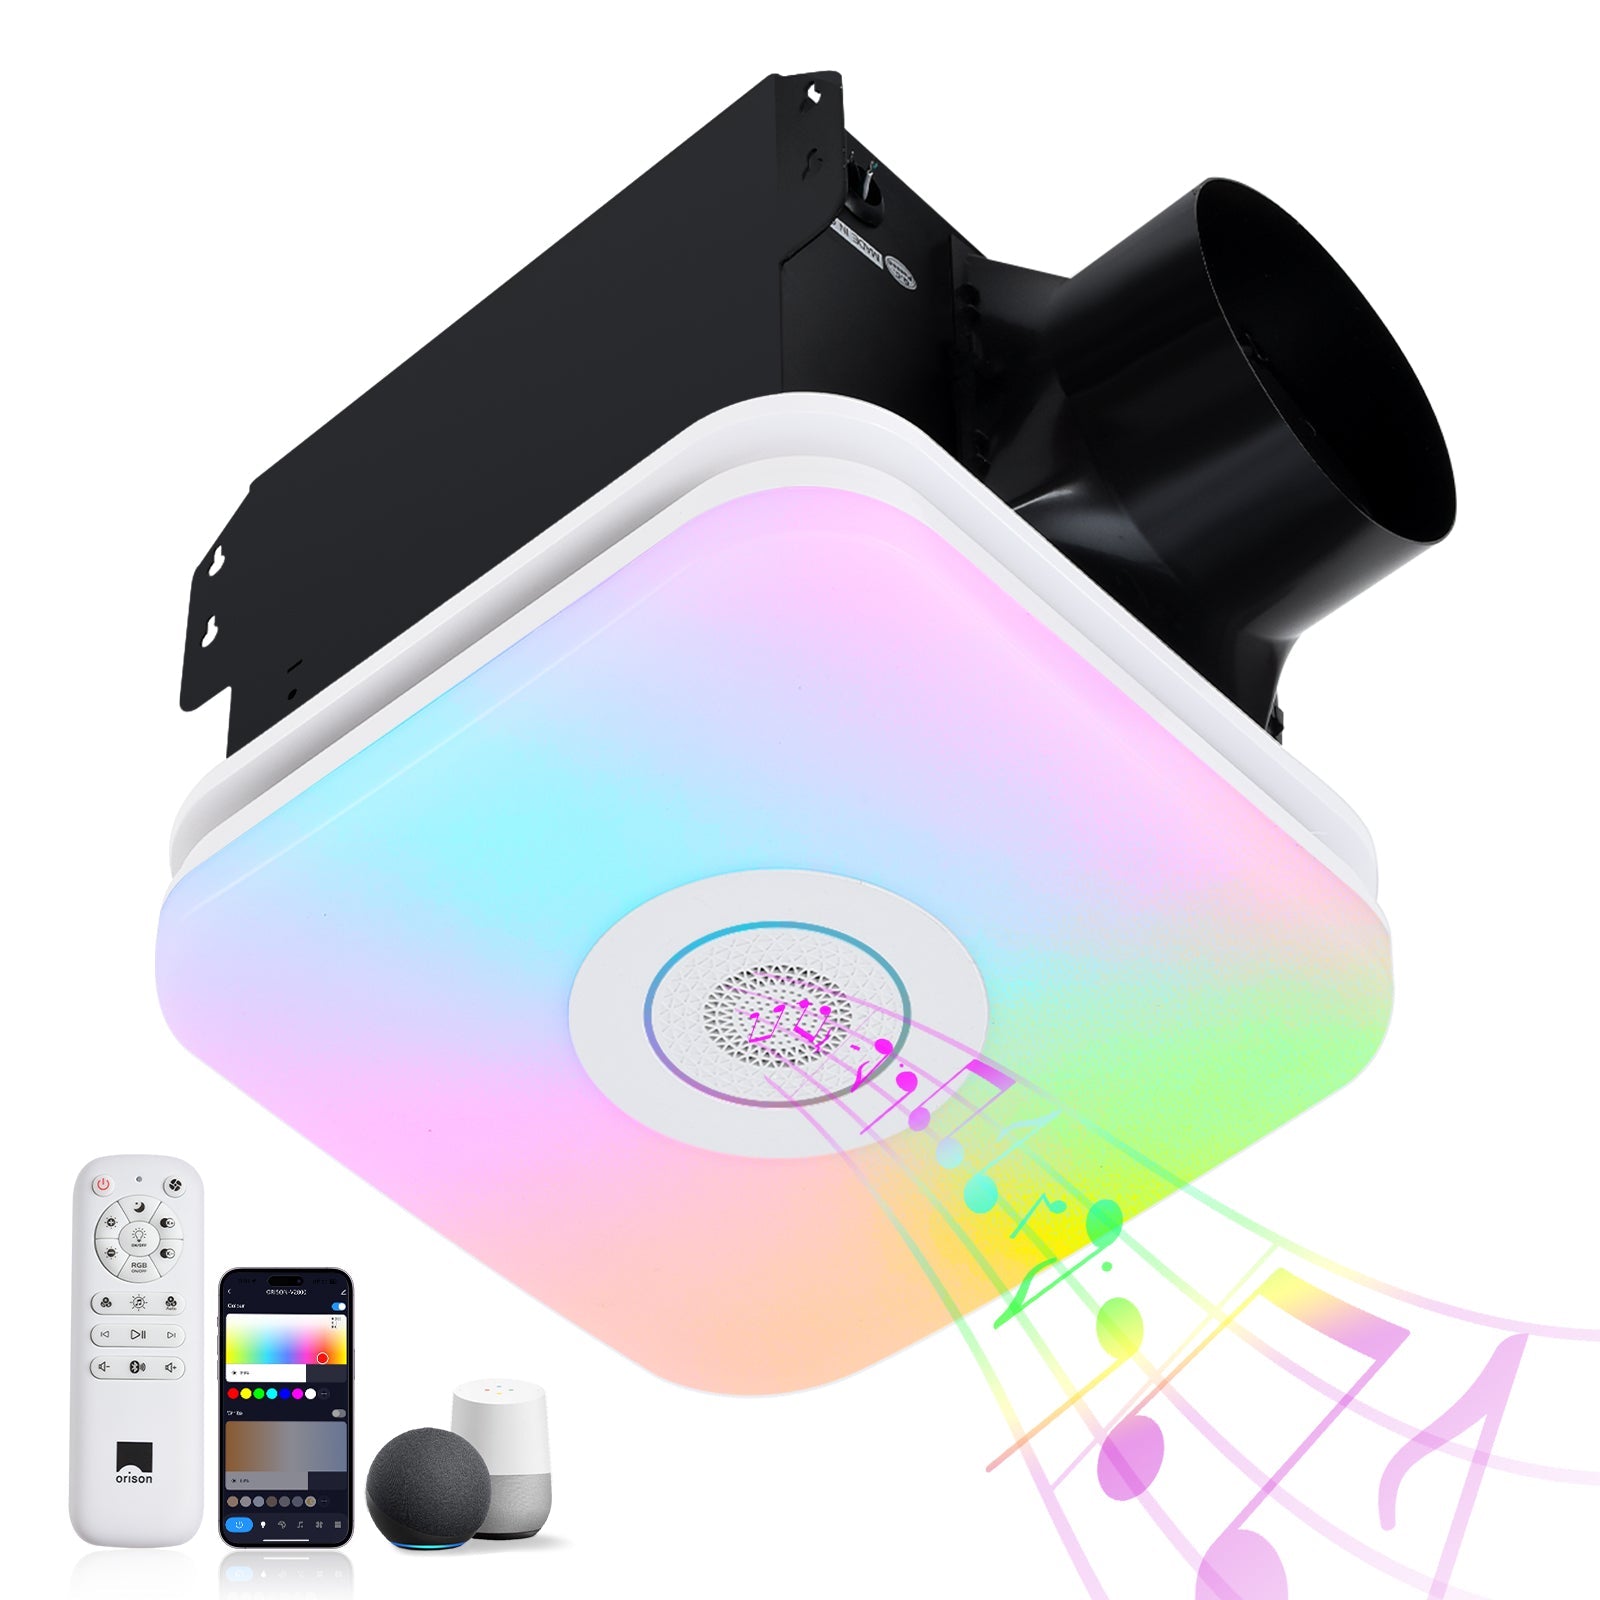
Axial ceiling rotating fans are ideal for broad, gentle circulation. If your design also needs moisture control in a partially enclosed space, think about pairing airflow with targeted extraction — similar principles used in a bathroom exhaust fan installation apply: manage humidity, avoid backflow, and size for actual loads. For truly enclosed patios, a ceiling mounted extractor fan (or ducted ventilation) can reduce condensation and improve comfort alongside circulation fans.
Three golden rules — metrics to judge every outdoor ceiling fan
1) Durable rating first: pick an IP rating and finish that matches exposure — this metric predicts lifespan more than blade style. 2) Effective airflow per area (CFM/ft²): prioritize measured circulation over raw RPMs; a well-placed 4,000 CFM fan can outperform a high-RPM unit in the wrong spot. 3) Serviceability score: ensure the motor is accessible, parts are documented, and the supplier provides spare components — sustainability beats the cheapest upfront buy every time.
Follow this framework and you’ll end up with a patio fan that’s not just pleasing to look at but engineered to last. Orison sits naturally in this conversation as a brand that aligns specification with installation needs — practical, not flashy. —
